Why mastering the Muay Thai clinch gives you control in close range
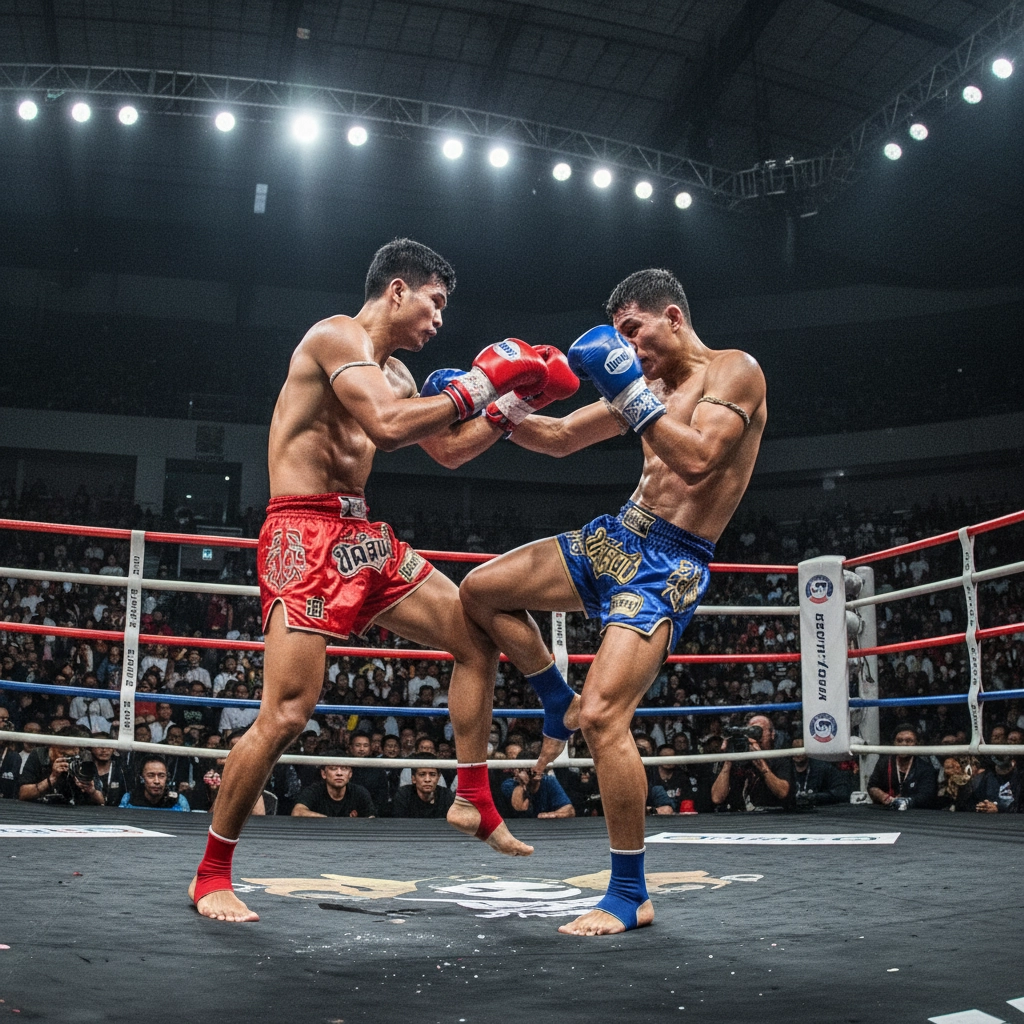
The clinch is where fights are won or lost at close range. When you control the clinch you control the opponent’s posture, breathing, and ability to strike. This section explains the practical goals you need to chase: head control, off‑balancing, and creating striking lanes for knees and elbows. You’ll learn how to think in terms of leverage and connection instead of just strength.
Foundational grips, body mechanics, and what to prioritize first
Before attempting fancy throws or counters, you must lock down the basics. Prioritize three things every time you enter the clinch: secure a reliable grip, establish hip and foot positioning, and maintain a strong frame that protects you from counters. Below are the essential elements to drill until they become reflexive.
Essential clinch grips and what each gives you
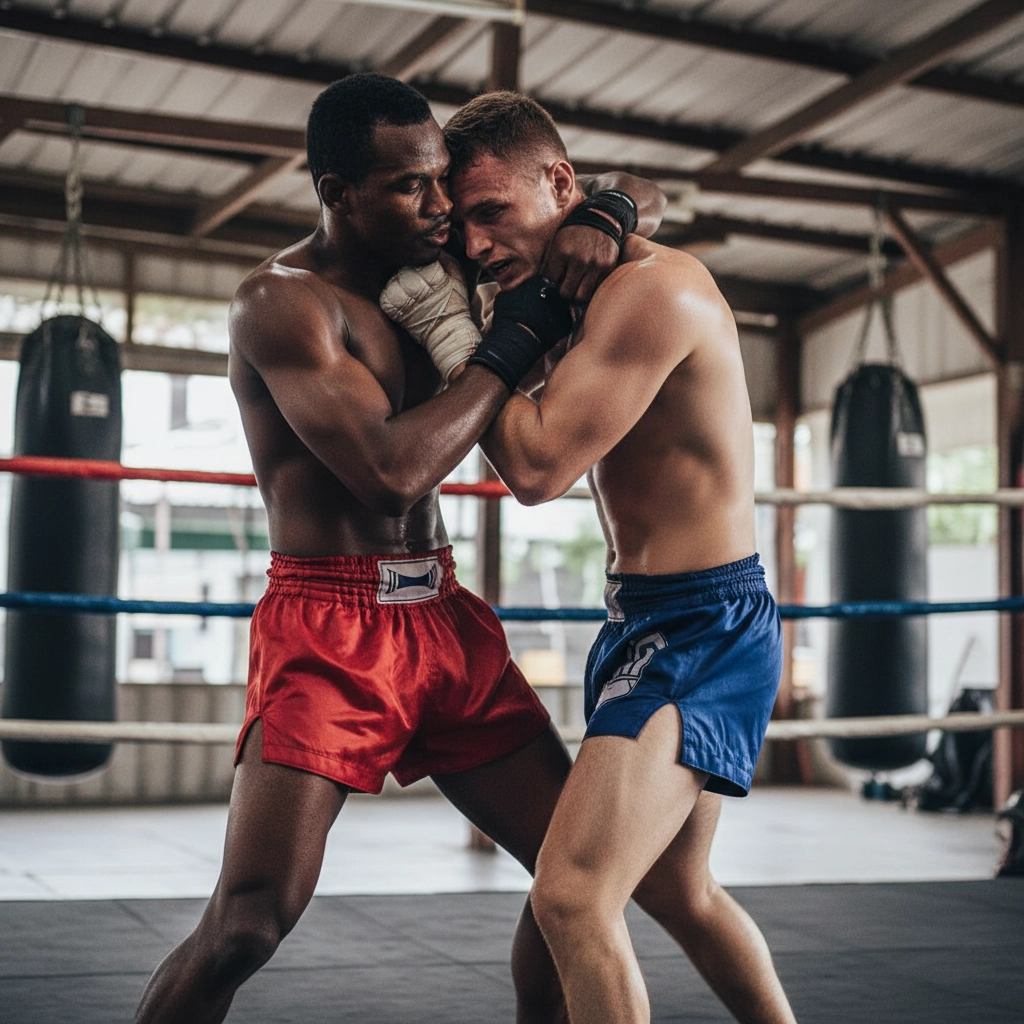
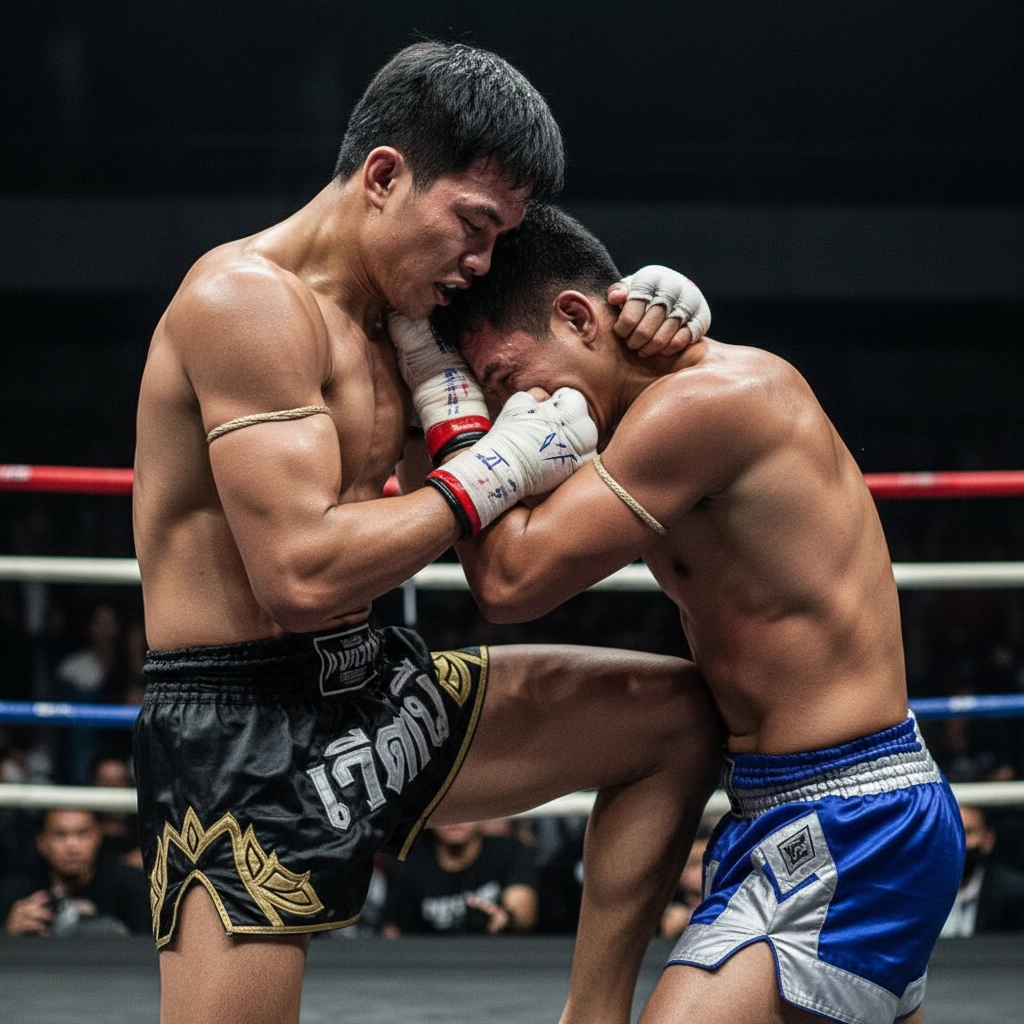
- Double collar tie (the plum) — Use this to control the head, open the chest for knees, and neutralize the opponent’s posture. Your forearms should press under the jawline while your hands cup the back of the head, creating leverage to pull them down.
- Double underhooks — These give you body control and the best platform for throws and lateral lifts. Underhooks allow you to lift the opponent’s ribcage and manipulate their center of gravity.
- Single collar tie / outside clinch — Useful for directional control, set-ups for trips, and pummeling entries. It’s less secure than a double tie, so always combine it with an arm or hip connection.
- Pinch (sleeve or biceps control) — Controlling the opponent’s upper arm removes their ability to pummel or strike effectively and opens space for knees and elbows.
Body alignment, feet, and hip positioning
Your feet and hips determine how easily you can off‑balance an opponent. Keep a staggered stance with knees slightly bent, hips low but mobile, and weight distributed to allow quick pivots. To break posture: step inside their centerline, drop your stance to shorten distance, and use your forearms and collar tie to pull the head down as you drive your hips into their sternum.
Basic defensive mechanics you must practice
- Pummel immediately when contact is made — moving your arms to underhooks prevents opponents from establishing top control.
- Use your forearms as frames to keep knees and elbows from turning into immediate damage during initial clinch exchanges.
- Control the head and chin to limit their vision and breathing; when you break posture you create high‑percentage knee opportunities.
With these foundations in place—grips, alignment, and defense—you’ll be able to practice controlled entries and begin training the most effective setups. In the next section you’ll learn specific entry techniques, pummeling progressions, and practical counters to common clinch attacks.
Clinching entries and pummeling progressions
Entering the clinch is a rhythm game — time, angle, and connection matter more than brute force. Start your entries from strikes and distance management: a stiff jab or teep that momentarily fixes your opponent’s posture creates a window to step inside, secure a collar tie, and pull the head down. Another reliable entry comes off a missed kick — immediately close the distance on your kick recovery, square your hips to theirs, and pummel for underhooks before they can re‑post their elbows.
Pummeling is the repetitive movement that converts those entries into control. Practice this progression until automatic:
- Single hand pummel (outside hand inside) — establish an initial connection and probe for space.
- Switch to the opposite side and seek the first underhook — your priority on each rep is getting your elbow inside their armpit, not grabbing depth.
- Convert single underhook to double underhooks when possible — use your hips to clear space and pull them into your frame.
- Finish with the double collar tie (plum) or a body lock depending on the opportunity.
Drills: partner “tap and swap” pummels for speed, wall pummeling to learn underhook leverage, and live 30‑second clinch rounds where each successful underhook or takedown scores. Common mistakes: overreaching with the arm (loses position), pulling straight back instead of creating an angle, and stiff upper body — stay mobile and use your legs and hips to create openings.
High‑percentage setups for knees, elbows, and throws
Once you control the head or body, transitions into knees, elbows, and throws should be immediate and economical. Here are reliable patterns to practice:
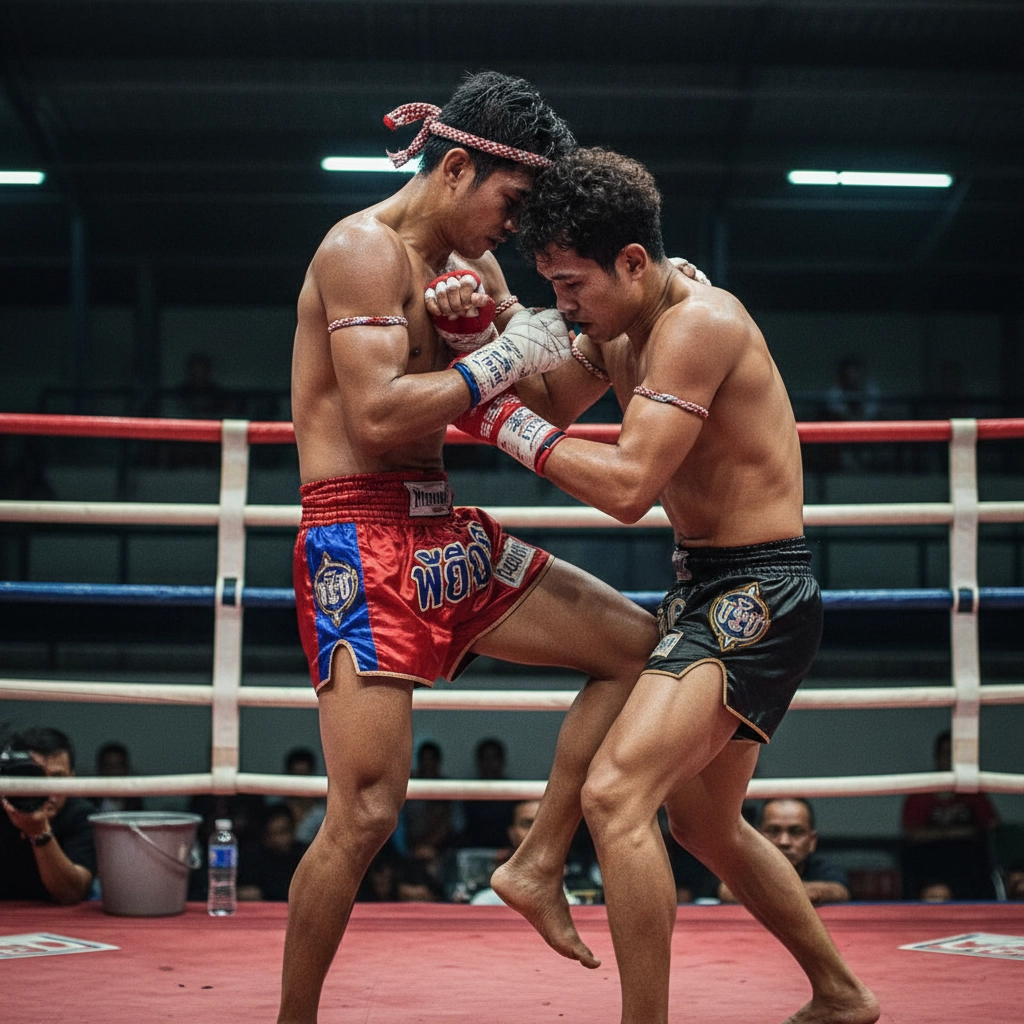
- Short central knees (from the plum) — pull the head down with both hands, squeeze your knees to their thighs, then drive vertically with the hips. Aim for the sternum and ribs; repeat rhythmically to break posture further.
- Switch knee (angle creation) — off a single collar tie, step to the outside of their lead foot, turn your hips, and fire the rear knee across their thigh into the ribs. This is effective when they brace against frontal pressure.
- Short elbow after arm pin — when you’ve pinched their upper arm to your chest, step your head inside their chin and throw a short downward elbow to the temple or jaw as they resist the pinch.
- Hip throw / lateral lift (from double underhooks) — rotate your torso, drop your hips lower than theirs, climb an underhook high and lift with your legs while turning them over your hip. Commit the weight and step through to finish. Timing: execute as they push forward or attempt to step out.
- Inside reap/trip (from outside clinch) — break their base with a knee or shoulder, then reap the near leg while clearing their arm with your hand. Use the momentum to turn them down rather than trying to lift.
Drill each setup at slow speed, then increase tempo. Focus on the sequence: grip, off‑balance, strike/throw — not random flurries.
Immediate counters to common clinch attacks
Clinch exchanges often end because one fighter responds instantly. Learn these counters and practice them until reflexive:
- Against the plum (head pull) — base your posture, drive your forehead into their sternum to regain space, and pummel a hand inside for an underhook. If they hold tight, turn the corner and sweep the foot as you off‑angle.
- When they secure an underhook — counterpummel aggressively: swim your free arm under theirs and stack your weight on their chest. Use a short elbow to the head as you clear the underhook if space permits.
- Facing a body lock takedown — widen your base, drop your hips, and backstep to unweight the lift. If you can, split the body lock with your hands and counter with a knee to the thigh or a trip to the outside.
- During a clinch knee barrage — control the near thigh or clasp behind the knee to block depth, then disengage quickly by spinning the chin away and stepping out laterally to create a counterangle.
Partner drills: attacker executes a preset clinch (plum, underhook, body lock) while defender practices only the counter for 10 seconds, then switch. Repetition builds timing and reduces panic reactions when the clinch gets messy.
Putting Clinch Work into Your Weekly Plan
Make the clinch a deliberate part of your training schedule rather than an afterthought. Allocate short, focused sessions three to five times per week that rotate technical drilling (pummels, grips, footwork), situational sparring (30–60 second clinch rounds), and controlled power work (short bursts of knees/elbows and throws). Keep intensity varied: heavy technique days once or twice weekly, lighter speed and flow days the rest of the time.
Prioritize safety and progressive overload. When introducing throws or trips, use mats, practice breakfalls, and start at 50% speed until timing is consistent. Record a few rounds of practice to review posture and hand placement—small adjustments often yield the biggest gains. For reference material on fundamentals and common progressions, see Muay Thai basics.
Finally, treat clinch training as a bridge between stand‑up striking and grappling control: integrate it with your striking mitt work and takedown defense, rotate partners to experience different body types, and set measurable goals (e.g., successful underhooks in 80% of clinch entries). Consistent, mindful repetition builds the reflexes that turn drills into in‑fight control.
Frequently Asked Questions
How often should I practice clinch pummeling, and which drills give the fastest improvement?
Practice pummeling multiple times per week with short, focused drills. “Tap and swap” pummels for speed, wall pummeling for leverage awareness, and live 30‑second clinch rounds for timing are the highest‑return exercises. Start with slow repetitions to ingrain mechanics, then increase speed and resistance.
How can I train throws and trips safely without a wrestling background?
Progress gradually: learn proper breakfalls first, drill technique at low speed, and use mats or a grappling area. Emphasize hip placement, turning through, and using momentum rather than brute strength. Work with a coach or experienced partner to correct posture and finish mechanics before increasing intensity.
What’s the quickest way to stop giving up underhooks during a clinch exchange?
Pummel immediately when contact is made—swim your arm under their elbow and secure the underhook rather than reaching over. Use your forearm as a frame to block their entry and step your foot inside their base to create angle. Repetition of quick, short pummels is the fastest path to consistency.