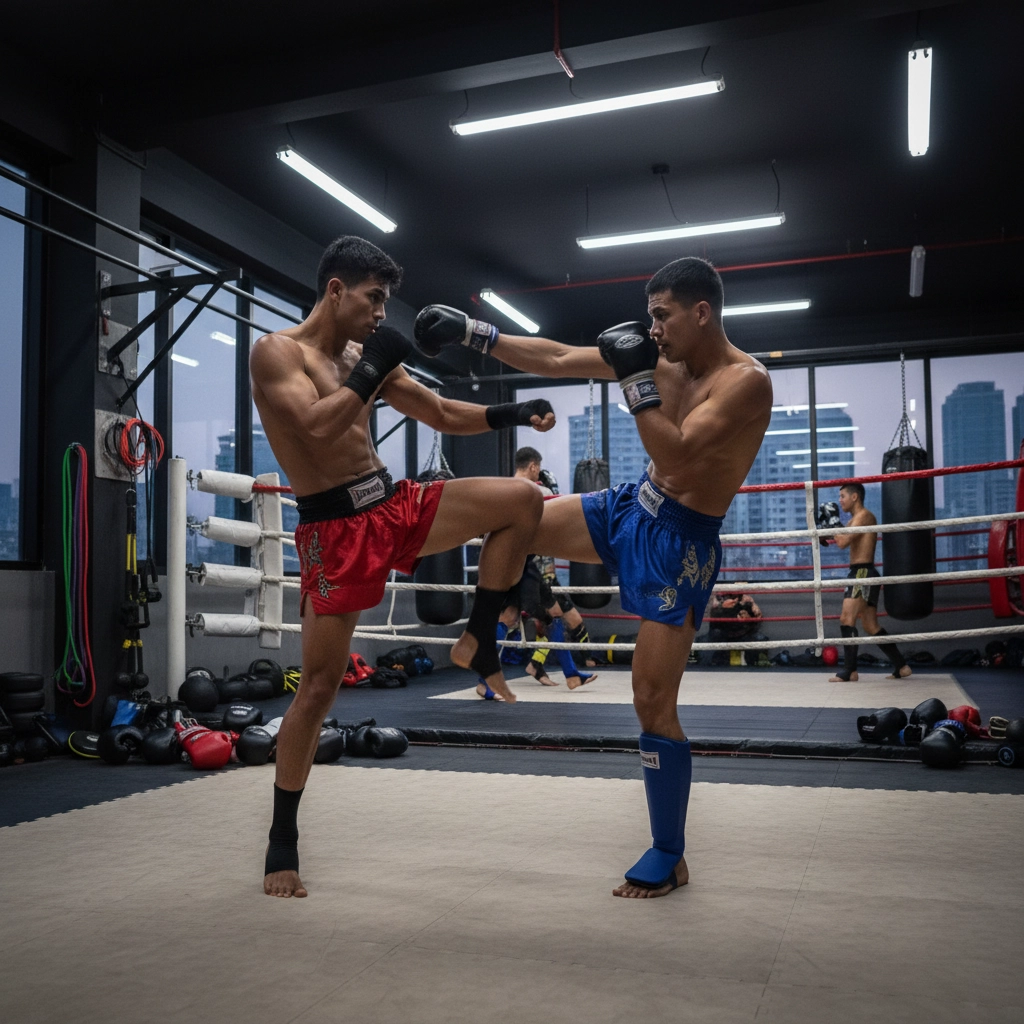

Why mastering core Muay Thai strikes will transform your fighting
You can train hours and hours, but without a solid set of basic strikes your progress stalls. These core techniques form the language of Muay Thai — they create distance, set up combinations, and win rounds. By focusing on efficient mechanics and reliable habits, you develop speed, power, and the timing to apply more advanced moves later. In this part, you’ll get clear, actionable instruction on the essential strikes every fighter must know and the key details that make them effective.
What makes a strike “essential” for beginners?
Essential strikes are those you’ll use most often in sparring and fights. They are relatively simple to learn, but demand consistent practice to make them automatic. You should be able to land them from your basic stance, transition between them smoothly, and apply proper defense when you miss. Below are the primary categories you’ll focus on first.
Core strikes: punches, kicks, teeps, knees, and elbows — and how to practice them
Each strike has a purpose: punches set range and create openings, teeps control distance, roundhouse kicks generate damage, knees punish the clinch, and elbows finish close-range exchanges. Learn the basic mechanics and a simple drill for each strike to accelerate skill acquisition.
Punches: jab and cross
- Mechanics: Keep your guard up, snap the jab from the front shoulder, and rotate your hips and rear foot on the cross for maximum reach and power.
- Common errors: Overreaching with the jab, dropping the rear hand on the cross, and telegraphing with your shoulder.
- Drill: Shadowbox 3 rounds of 2 minutes focusing on jab-cross rhythm; aim for crisp retraction of each punch.
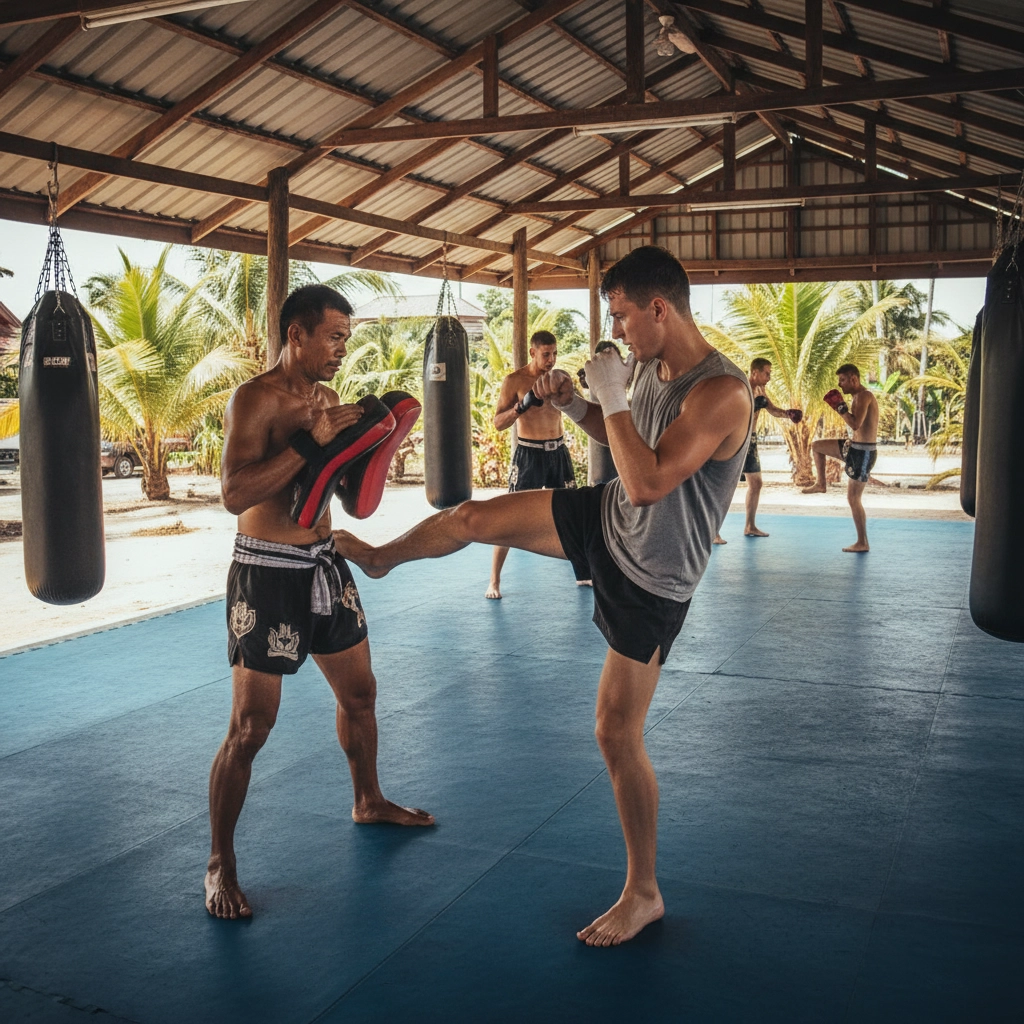
Teep (push kick): your distance manager
- Mechanics: Drive through the hips, extend the leg straight, and point the toes upward so you strike with the ball of the foot.
- Common errors: Kicking with only the leg and not the hips, leaving your arms down, and losing balance.
- Drill: Partner pad work: 10 teeps per leg, focusing on quick retraction and maintaining stance integrity.
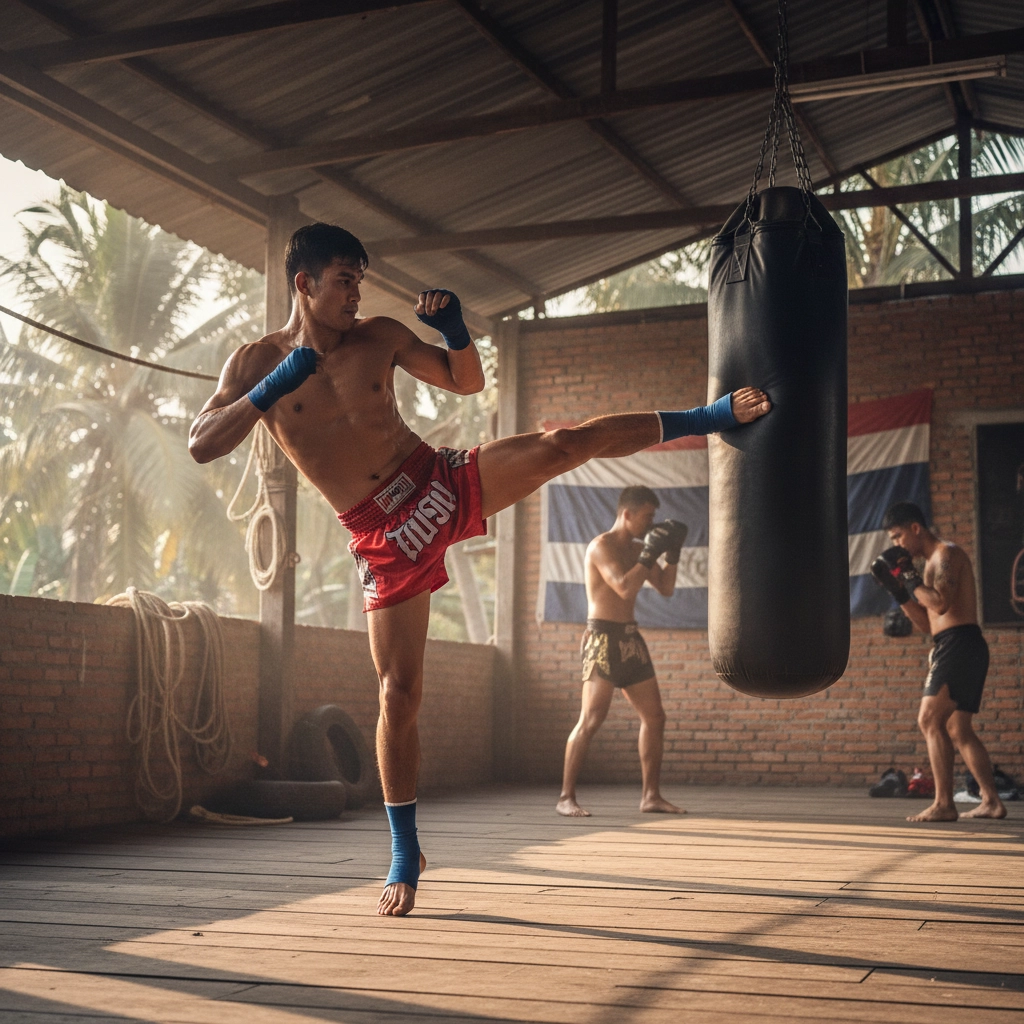
Roundhouse kick: power from the hips
- Mechanics: Pivot the supporting foot, rotate the hips, and strike with the shin. Aim to land with the mid-shin for best impact and safety.
- Common errors: Kicking with the knee only, not pivoting the foot, and telegraphing set-up movements.
- Drill: Heavy bag rounds concentrating on chambering, pivot, and follow-through; 5 sets of 10 kicks per leg.
With these basics you establish a reliable offensive and defensive toolkit. Next, you’ll break down knees and elbows, plus how to combine these strikes into effective sequences and drills to build timing and power.
Knees: clinch control and explosive close-range strikes
Knees are the weapon of the clinch: they punish the opponent’s midsection and ribs, disrupt balance, and score heavily in close-range exchanges. The most reliable knees come from solid hip drive and a controlled clinch; without those you’ll get pushed off or telegraphed.
- Mechanics: Establish a simple clinch (one or both hands on the back of the opponent’s head or neck), posture up slightly to create space, step your support foot in, drive the hips forward and pull the knee up and into the target. Aim to use the hip thrust to add power — the knee should be a continuation of your hip rotation, not just a leg lift.
- Common errors: Pulling the opponent towards you instead of driving the hips into the knee; dropping your head and exposing it to counters; kicking with the lower leg only without engaging the core and hips; static clinch where you stop moving your feet.
- Drills:
- Clinch-to-knee partner drill: 3 rounds of 2 minutes. One partner secures the clinch and throws 3 knees (alternating legs) while the other practices pummeling and framing. Switch roles each round.
- Bag drill: Hold a heavy bag at chest height and throw 10 straight knees per side, focusing on hip drive and a quick return to stance.
- Wall clinch: Press a partner or bag against a wall and drive knees to practice balance and power without allowing the clinch to collapse.
Elbows: close-range finishers and cut-makers
Elbows end exchanges quickly. They’re short, sharp, and best used as follow-ups when the opponent closes distance or drops their guard. Because of their cutting potential, practice elbows carefully and gradually increase contact.
- Mechanics: Keep the elbow tight and the shoulder compact. Rotate the torso and bring the elbow across or down in a short arc; the power comes from torso rotation rather than arm extension. Common practical types are horizontal (cutting across the face), upward (under the chin), and downward (from above into the temple or collarbone).
- Common errors: Overextending the arm, leaving the other hand down, swinging the shoulder too early (telegraph), and using the elbow from too far away. Elbows require proximity — trying to throw them at range wastes energy and opens you up.
- Drills:
- Pad progressions: Start with soft focus mitts, advancing to elbow pads. Drill combinations like jab-cross-elbow and hook-elbow with controlled intensity.
- Targeted shadow/elbow work: Shadowbox short rounds concentrating on elbow angles and torso rotation; visualise an opponent’s jawline to get accurate placement.
- Clinch-to-elbow flow: From a clinch, land 1–2 knees then create space and throw a short elbow — repeat for 30–45 seconds to link knees and elbows smoothly.
Combining strikes: simple sequences and drills to build timing and flow
Strikes become dangerous when chained. Start with short, purposeful combinations that solve a problem: close distance, create an opening, or punish a habit. Keep combinations 2–4 strikes long when drilling — complexity comes later.
- Starter combinations:
- Teep — jab — cross: use the teep to set range, jab to reset, cross to finish.
- Jab — cross — step-roundhouse: close the gap after the 1–2 and unload a power kick.
- Teep — step-in clinch — 3 knees: push, step in, control the clinch and punish the body.
- Jab — cross — elbow/hook: rapid upper-body finish when the opponent’s guard is high.
- Combination drills:
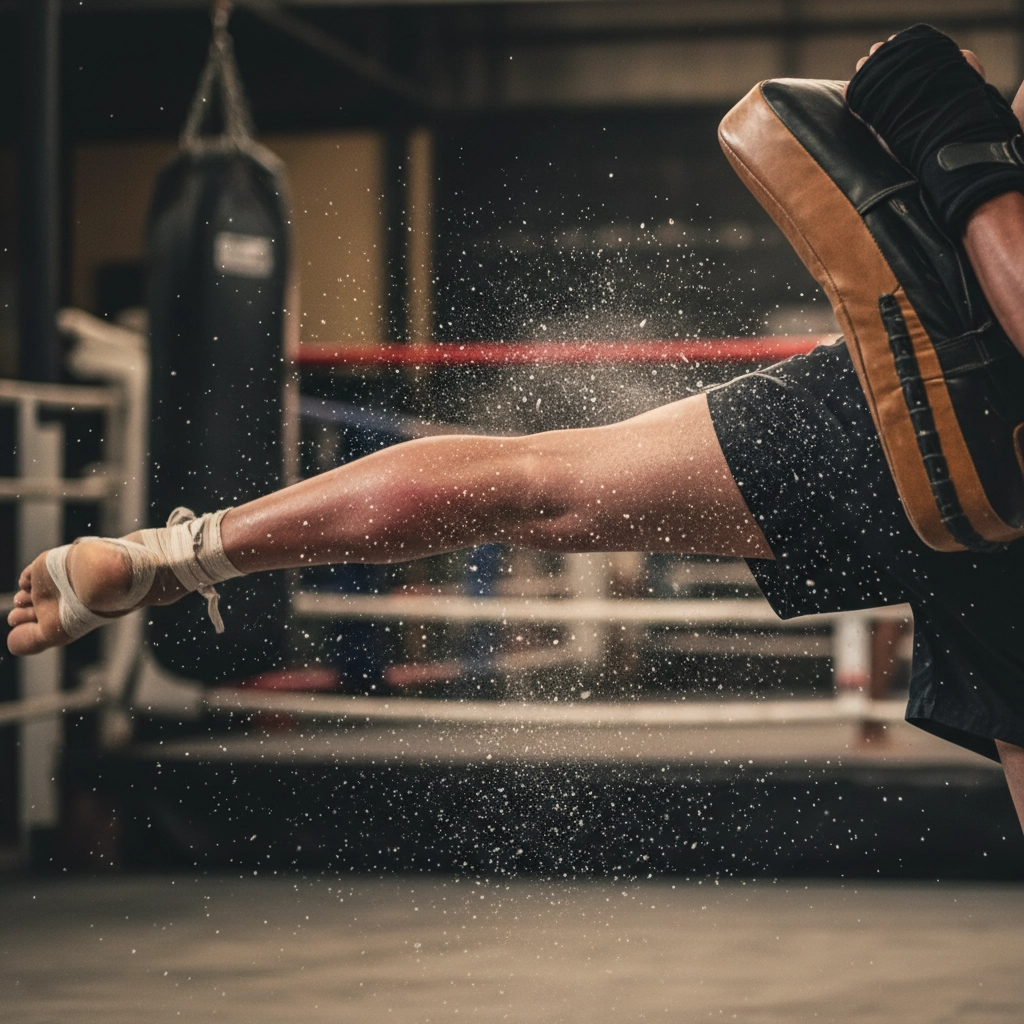
- Pad circuits: 3-minute rounds where the pad holder calls one of the starter combinations at random — execute with focus on retraction and balance.
- Reaction drill: Partner points left/right or shows a colored target; you perform the assigned combo to that side to train lateral movement and angle changes.
- Progressive sparring: Start light with only 2-strike combos, then increase allowed strikes and intensity each round to build flow under pressure.
- Training cues: Always return the striking limb to guard; control your breathing between combinations; rehearse the transition (e.g., teep to clinch) slowly before increasing speed.
Moving forward: practice, protect, progress
Learning essential Muay Thai strikes is only the start — the real growth comes from consistent, mindful practice and smart decision-making. Prioritize quality over quantity: slow, correct repetitions build reliable motor patterns; focused pad work builds timing; and controlled sparring develops application without compromising safety. Seek coaching feedback regularly and record sessions when possible to catch small errors before they become habits.
Protect your body while you train. Use appropriate gloves, shin guards, and headgear when needed, warm up thoroughly, and respect rest and recovery. If you’re unsure about introducing contact-heavy tools like elbows and full-power knees, progress under a coach and with controlled intensity to reduce injury risk.
Finally, stay curious and patient. Set short-term technical goals (cleaner teeps, sharper retraction on the jab) and celebrate steady improvements. For rules, event updates, and wider community resources, check official governing bodies such as IFMA Muaythai resources.
Frequently Asked Questions
How often should I drill the basic strikes each week?
Aim for regular, varied practice: 3–5 technical sessions per week focusing on shadowboxing, pad/bag work, and partner drills, with 1–2 sessions of light sparring depending on experience. Always include rest and mobility work so technique improves without overuse injuries.
When is it safe to introduce elbows and knees into sparring?
Introduce elbows and knees gradually once you and your coach agree your striking fundamentals, distance control, and defense are consistent. Start with controlled contact, proper protective gear, and clearly defined intensity rules; avoid full-power elbows until you’ve built experience and mutual trust with training partners.
What’s the fastest way to increase power in my roundhouse and knees?
Focus on technique first — full hip rotation, proper pivoting, and synchronized core drive — then add resistance and impact training: heavy bag rounds, clinch-to-knee drills against a bag or partner, and targeted strength work (hips, glutes, core). Consistent, technical repetition combined with progressive overload yields the best long-term power gains.
Recommended Posts