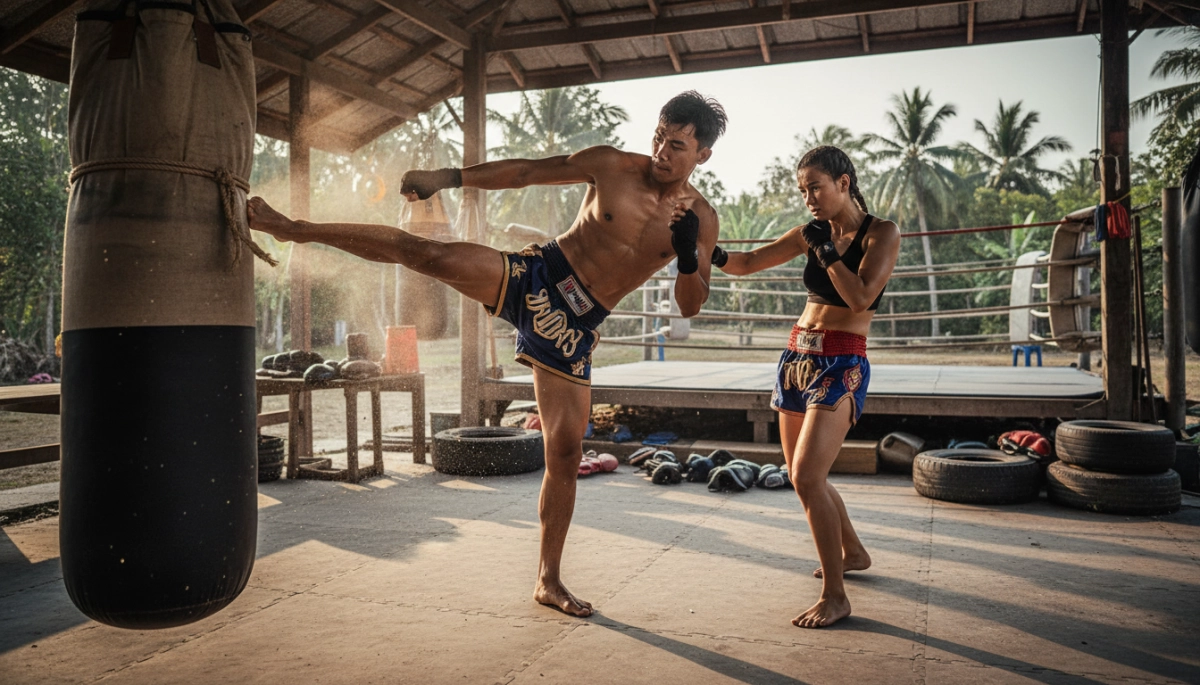
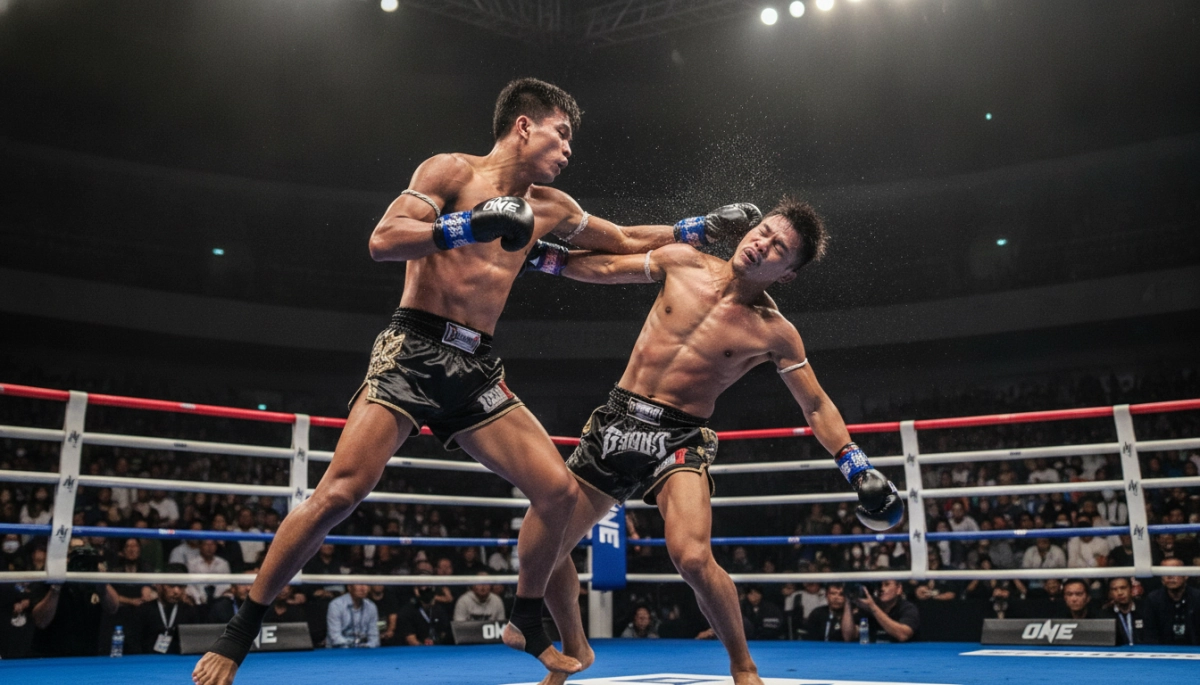
Why the clinch is your most dangerous tool in close-range Muay Thai
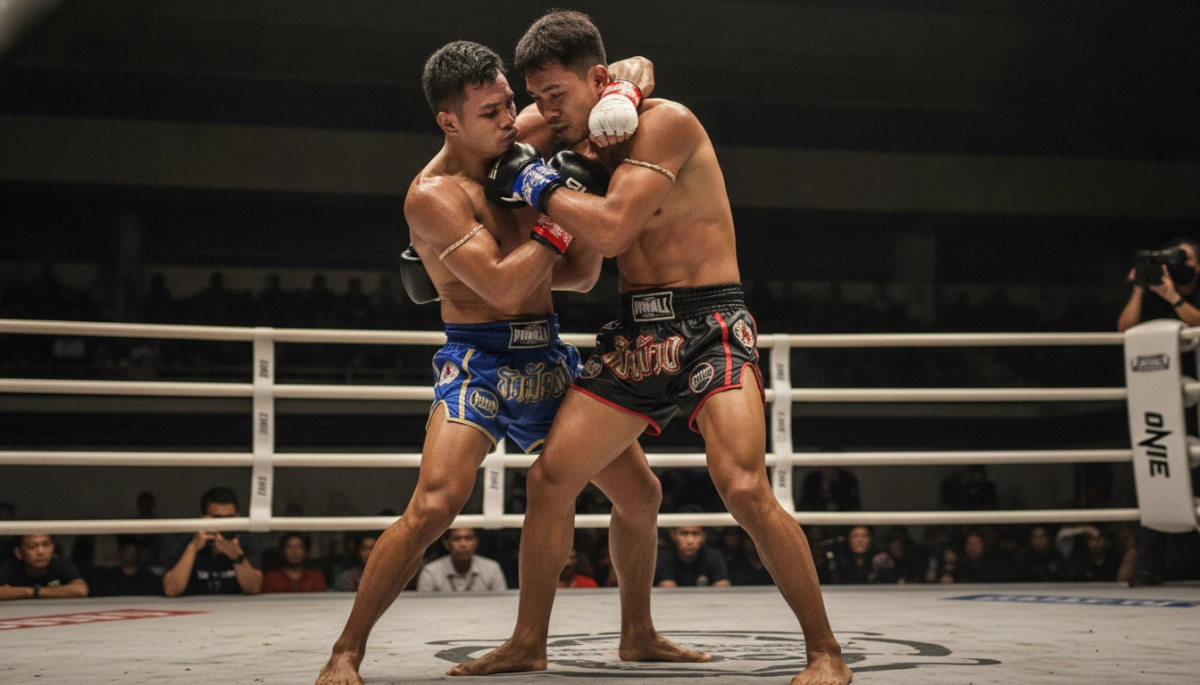
You already know Muay Thai is more than kicks and punches; the clinch is where fights are won or lost. When you control the clinch, you control your opponent’s head, posture, and balance—turning defense into repeated offensive opportunities. In practical terms, clinch mastery lets you convert positioning into knees, elbows, and off-balancing strikes that can end a fight.
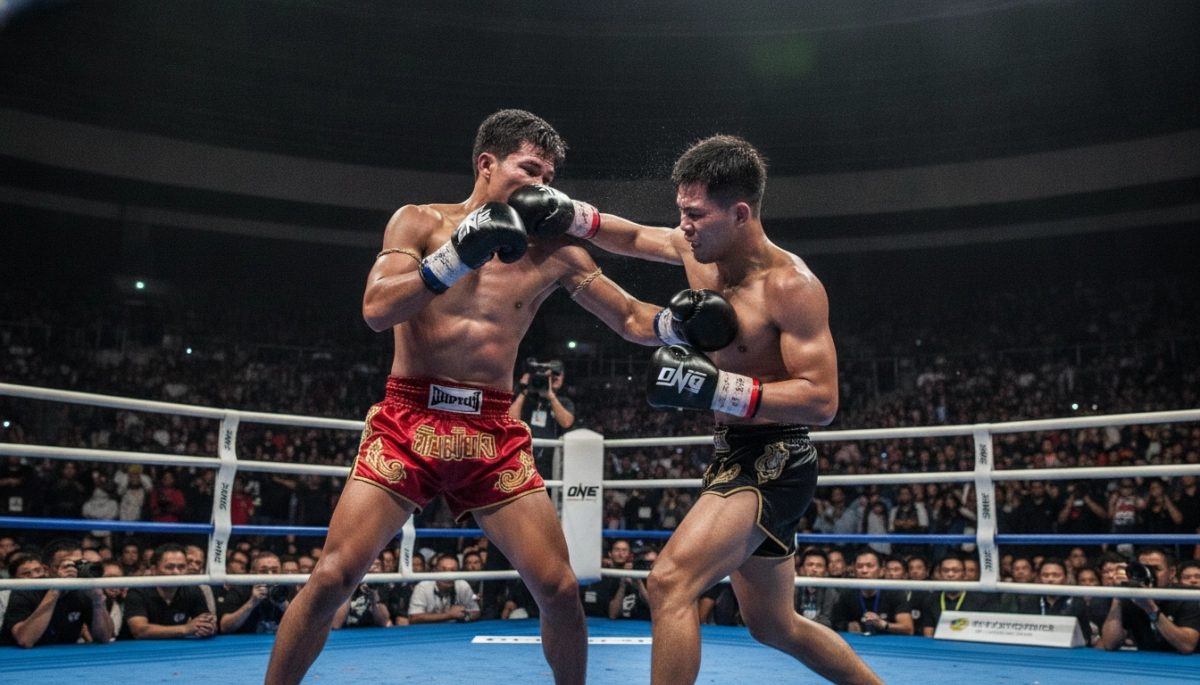
Champions like Rodtang Jitmuangnon demonstrate a clinic in how pressure, timing, and conditioning combine to produce knockouts from close range. You’ll study how his forward-driving mentality and quick transitions from clinch control to explosive knees create openings that most opponents can’t recover from.
Essential clinch principles and body mechanics to drill first
Before you attempt advanced setups, lock in a few non-negotiable mechanics. These give you a reproducible foundation so the more complex entries and finishers become reliable under fatigue and attack.
Posture and base: where power starts
- Keep a strong, staggered stance to resist sweeps and maintain mobility; your hips should remain low enough to generate drive but loose enough to pivot.
- Control the head—small shifts in head position dictate the opponent’s posture and open lanes for knees and elbows.
- Align your spine with your partner’s to transmit force efficiently; don’t overreach with your upper body or you’ll be vulnerable to counters.
Grip mechanics and hand placement
- Classic double collar tie (plum): use it to elevate the opponent’s head and expose the ribcage and midsection for knees.
- Over-under clinch: gain leverage by creating an angle; the underhooked arm controls the hips while the overhooked arm limits escape.
- Frame and re-grip drills: practice quickly re-establishing grips after a scramble to keep constant pressure.
Off-balancing and creating striking windows
You must learn to combine upper-body control with subtle hip checks and foot pivots to break an opponent’s balance. Small lateral pulls or steps create the necessary separation to drive knees into the solar plexus or ribs. The goal isn’t brute force every time; it’s timing—interrupt their posture at the instant you strike.
How Rodtang turns clinch control into knockout sequences
Rodtang’s clinch work is defined by relentless forward pressure, explosive knee timing, and an ability to punish any attempt to regain posture. He frequently chains knees and short elbows while maintaining head control, using conditioning and pace to turn accumulation into a decisive strike. Studying his rounds will show you practical templates: how to close the distance, establish the plum, and convert small posture breaks into high-impact strikes.
Next, you’ll learn specific clinch entries, step-by-step drills, and combination sequences inspired by Rodtang’s most effective knockouts to practice and apply in sparring.
Clinch entries that set up Rodtang-style knee chains
Getting into the clinch without losing position is half the battle. Use entries that prioritize head control and immediate hip access—those are the lanes Rodtang repeatedly exploits.
- Step-through catch-and-close: When your opponent throws a teep or roundhouse, catch or parry the strike, step diagonally off the line with your lead foot, and slide the outside arm up into a collar tie while the inside arm threads under the near armpit (over-under or underhook depending on their posture). Drive forward to collapse their frame and establish a plum.
- Kick-check into plum: After a checked low kick, step forward on the same side, wrap the arm high as you pivot the hips, and use the lead hand to push their head down. This quick hip-step removes their base and gives you immediate knee lanes to the ribs and thigh.
- Snap-down entry from overhook: Secure a heavy overhook on one side and use a short snap-down with your off-hand on the back of the head. As they react, slide your underhook in, close the distance, and switch both hands to a double plum to trap posture before delivering knees.
Progressive drills and combination sequences to make the finish instinctive
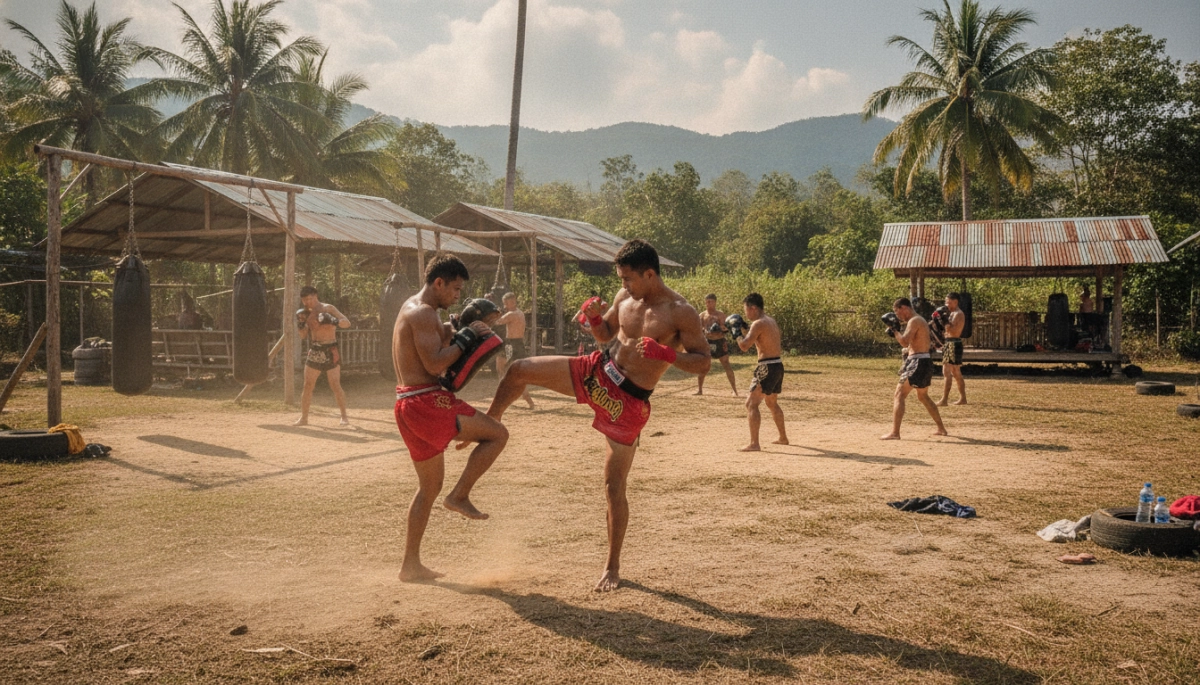
Drilling in phases builds resilience and timing so you can execute under pressure. Start slow, add resistance, then sprint the sequence until it is second nature.
- Phase 1 — Positioning reps (partnered): From neutral clinch, practice entering the plum and holding light pressure for 10–15 seconds. Focus on head control and a stable base. Repeat 10 rounds each side.
- Phase 2 — Knees with balance breaks: With a cooperative partner, chain 3–5 knees to the body, then a short lateral pull to unbalance and a high knee to the chest. Emphasize rhythm and hip drive rather than brute power. Do 5 sets of 10 chains.
- Phase 3 — Progressive resistance: Have your partner offer incremental defense (hands up, posture resets, hip pummels). Your job is to re-establish the plum and land 2–3 hard knees within 5 seconds. Increase intensity until you can consistently finish against active resistance.
Sample combination to drill: secure plum → 2 body knees (inside-out hip drive) → step off-line + lateral pull → 1 high knee to sternum → short left elbow as they fold. Repeat slowly, then at tempo.
Common counters you’ll face and simple finishes when posture returns
Opponents will try to regain posture with hand posts, underhooks, or hip turns. Anticipating these reactions lets you convert defense into a knockout sequence.
- Against hand posts: Pin the wrists with your forearms, use a quick snap-down, then immediately deliver a knee to the ribs — the snap timing creates the opening.
- Against underhooks: Switch your base, step to the underhook side, and use your outside hand to pull the head down while the inside knee scoops upward. This change of angle often exposes the diaphragm.
- When they posture up: If they create space, throw a fast short-range elbow or a tight long knee (knee from the hip with a step-in). A well-timed elbow as they reset their chin can be the decisive strike that turns accumulation into a KO.
These entries, drills, and reactive finishes reflect the practical templates Rodtang uses: pressure, disruption, and immediate punishment whenever posture falters. Practice them in sequence until your timing and pressure become a continuous weapon in close quarters.
Advanced adaptations and safety reminders
As you push the clinch into higher-intensity sparring and competition, protect both your training partner and yourself. Prioritize progressive overload in contact, keep neck and core conditioning in your program, and use controlled repetitions for new entries before adding full power. When drilling finishes, alternate hard rounds with technical rounds so mistakes aren’t punished by injury. Always work under a coach’s supervision when testing knockout setups.
- Warm up the neck, shoulders, and hips specifically for clinch work to reduce strain.
- Use protective gear (headgear, groin, shin guards) during heavy clinch sparring and pad sessions.
- Tap early on painful locks or compressions — position and timing, not pain tolerance, create KOs.
- Record sessions occasionally to analyze posture, grip transitions, and timing for continuous improvement.
Train with purpose, finish with respect
Clinch-based knockouts are the product of intentional repetition, situational awareness, and a respect for the power you generate at close range. Treat each drill as a building block toward dependable reactions under fatigue rather than a one-off trick. Seek feedback, stay consistent, and prioritize safety so your ability to finish fights grows with longevity.
For more on Rodtang’s career and fight examples to study, see Rodtang Jitmuangnon on Wikipedia.
Recommended Posts