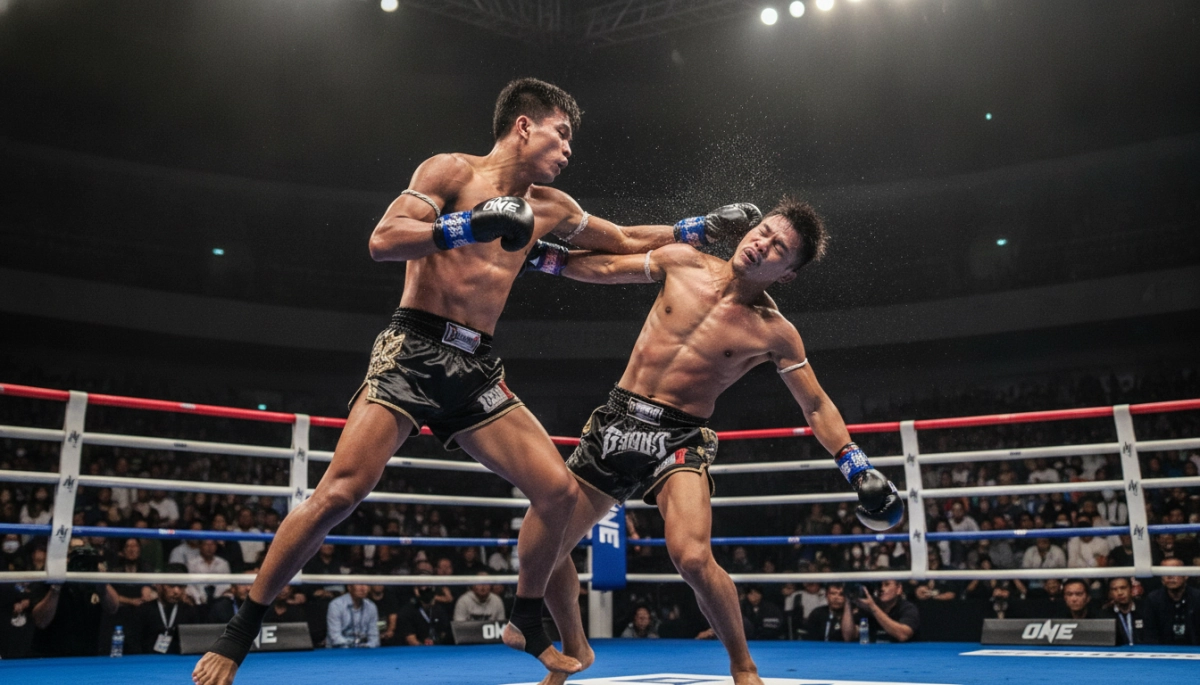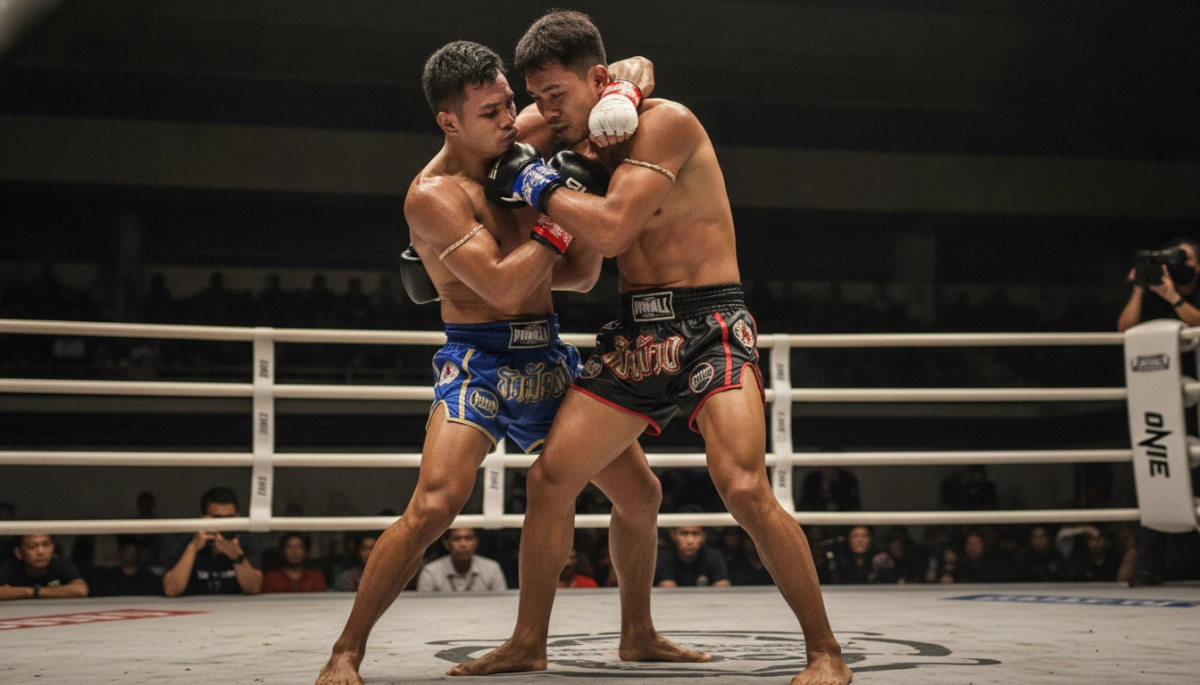
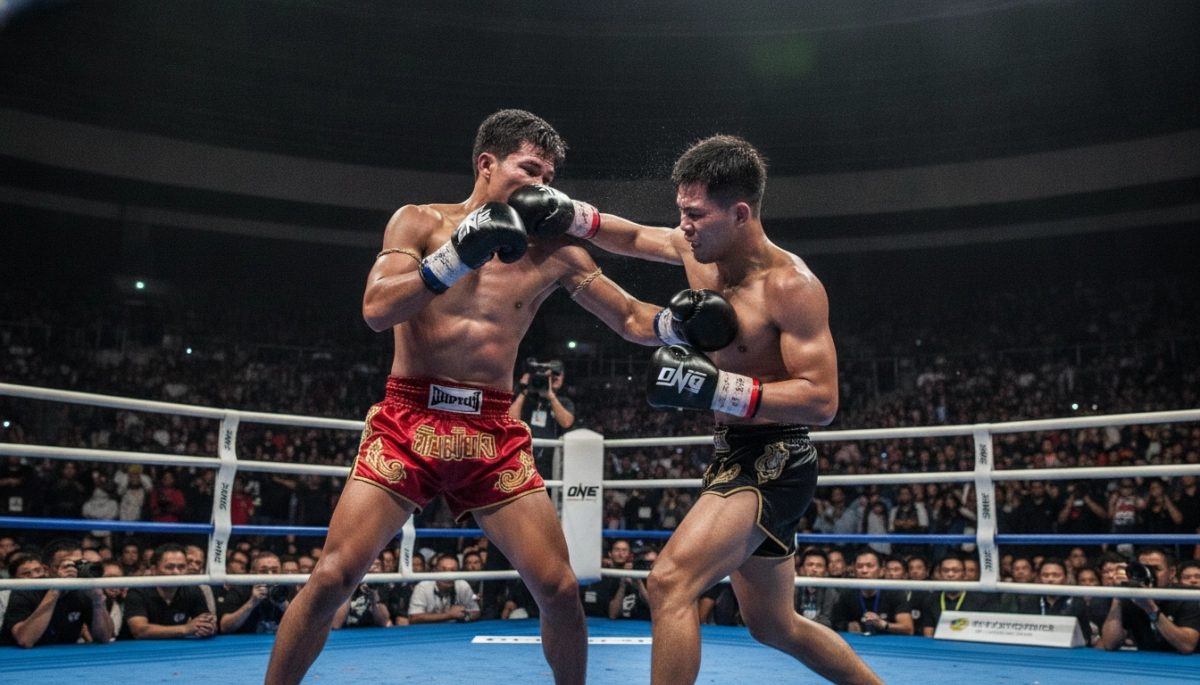
Why studying Rodtang’s finishes sharpens your striking instincts
You watch Rodtang collide with opponents and see knockouts that look inevitable only in hindsight. By studying his finishing strikes, you learn how pressure, timing, and technique combine to create openings that become fight-ending moments. This section shows you how to observe those moments deliberately so you can apply the same principles in training or analysis.
You’ll focus on patterns rather than isolated highlights: how he builds angles, commits to specific combinations, and controls distance to turn sustained offense into a single decisive blow. Paying attention to rhythm and repetition lets you anticipate the setups that make a knockout possible, whether you’re coaching, scouting opponents, or improving your own fight IQ.
Key attributes that make Rodtang’s knockout strikes effective
Relentless pressure and volume
Rodtang often forces opponents to react, not act. When you study his fights, notice how continuous forward pressure collapses defensive structure. That volume of strikes creates small defensive lapses; you should learn to identify when an opponent’s guard drops or weight shifts—those micro-failures are where knockouts are born.
Explosive timing and range control
His knockouts frequently come from perfectly timed entries: a feint that elicits a response, followed by a compact, explosive strike. You should track how he manipulates range—stepping off the line to bait a counter, then exploding back in with a strike designed to finish. This control of distance is a repeatable pattern you can train.
Efficient strike selection and angles
- Short, heavy punches to disrupt balance and set up knees or uppercuts.
- Low-to-high strikes that exploit a dropped chin (hooks and overhands).
- Clinching entries that end with decisive elbows or knees when space collapses.
When you analyze these elements, focus less on flashy moves and more on the simplest, highest-percentage attacks he returns to under pressure.
How to recognize the setups that lead to his finishes
Visible cues and how you should track them
Start by cataloguing observable cues: a shifted rear weight, an opponent exhaling sharply, or a predictable head movement after a particular feint. You should map these cues to the strikes that follow so you can predict likely finishing attempts. Use slow-motion review to mark the precise frame where a window of vulnerability opens.
- Track sequence length: does the knockout come after a three-strike combo or prolonged grinding?
- Note the favored counters: which defensive errors does he reliably punish?
- Record distance changes: how many steps in or out precede the finishing strike?
Applying these observations in drills will help you internalize the setups so you can recreate the conditions that precipitate a knockout. In the next section, you will get a strike-by-strike breakdown of Rodtang’s most common finishing combinations and actionable drills to replicate them safely in training.
Strike-by-strike breakdowns of Rodtang’s most common finishing combinations
Here are four recurring finish sequences you’ll see across Rodtang’s fight reel. For each combo I’ll unpack the specific strike that ends the sequence, the micro-failure it targets, and the exact cue to watch for in slow motion.
1) Pressure boxing → overhand hook/left uppercut
- Sequence: stiff jab to the body or head → short cross → hook/overhand to finish.
- Targeted failure: opponent opens the lead side when trying to clinch or turn away; the chin lowers on the defensive cross.
- Cue: a delayed shoulder roll or a visible inhale/exhale after the second punch—this is the millisecond when the guard separates.
- Why it works: the quick, compact hook follows the line of travel already created by the cross, so it doesn’t need full extension—just torque and timing.
2) Body-to-head ladder → knee or uppercut
- Sequence: hook or push to the ribs → quick uppercut to the chin or snap knee when the opponent leans forward.
- Targeted failure: weight shifts forward trying to protect the body, exposing the chin and reducing head mobility.
- Cue: a visible drop of the elbow to cover the ribs or a forward head snap on the breath out—this is the trigger for the upward strike.
- Why it works: the body shot breaks posture; the immediate vertical attack exploits that collapse before recovery.
3) Low kick accumulation → cornering → short elbows
- Sequence: repeated inside-outer low kicks → cut-off step to trap the opponent on the ropes → short horizontal elbow or flurry.
- Targeted failure: hobbling or shortened step length that prevents lateral escape.
- Cue: smaller, shuffling steps and a higher guard as the opponent braced against leg pain—clear moment to cut the line and finish.
- Why it works: low kicks sap mobility; when movement is compromised, short, hard elbows close out the guard quickly.
4) Clinch entry → off-balancing knee/elbow
- Sequence: single collar tie or push-off → step-through to collapse space → off-balancing rear knee or short elbow.
- Targeted failure: opponent posts on the shoulder or straightens the hips to resist the clinch, creating a gap at the head or ribs.
- Cue: a palm or forearm that replaces the head as a brace—this hand becomes the leverage point for the finishing strike.
- Why it works: clinch control neutralizes escape and isolates limbs; a compact knee or elbow becomes the high-percentage finish.
Progressive drills and partner protocols to reproduce Rodtang-style finishes safely
To internalize the timing and triggers above, use structured progressions. Always start technical and slow, then add resistance and finally speed. Below are practical drills you can plug into a weekly session.
Three-stage drill template
- Stage A — Technical rehearsal: shadow the sequence at 50% speed for 3 rounds of 2 minutes. Focus on weight shifts, feints, and the exact frame when you’d throw the finisher.
- Stage B — Controlled partner work: mitt/pad rounds where the receiver simulates the specific micro-failures on cue (drop guard, step forward, etc.). Run 4–6 reps per cue, alternating roles.
- Stage C — Live timing: light-to-moderate contact sparring where the finisher is only allowed when the partner exhibits the trained cue. Track successful finishes vs. attempts (10–15 reps).
Safety and coaching cues
- Wear appropriate protection (headgear, shin guards, mouthpiece). Limit full-power finishes until the athlete shows consistent control.
- Use a verbal/tactile tap system for partners to signal when a drill should stop—this preserves trust and reduces injury risk.
- Coaches: freeze-frame video mid-drill. Show the exact frame where the opening appears so the striker can feel the timing in the next rep.
Pair these drills with heavy-bag rounds emphasizing compact torque on the finishing strike (5 x 1-minute power intervals) and short clinch resistance sets (30–60 seconds). Over time, the aim is to create reflexive finishing responses—so that pressure, not panic, becomes the trigger for fight-ending strikes.
Putting Rodtang’s finishes into practice
Knowing what to look for is one thing; making it automatic is another. Turn the insights from this article into a repeatable learning loop: practice the trigger cues slowly, add realistic resistance, record and review, then tighten the timing. Treat each drill as data—measure attempts, successful finishes, and the partner cues that led to them—so you can adapt training priorities week to week without guessing.
A simple weekly integration plan
- Day 1 — Technical rehearsal: 3 x 2-minute shadow/pad rounds focused on one finishing sequence (low intensity).
- Day 2 — Partner application: 4–6 controlled mitt rounds where the partner simulates specific micro-failures on cue.
- Day 3 — Timing and sparring: light-to-moderate contact sparring with the restriction that finishers are only thrown on trained cues (track success rate).
- Supplemental — Strength/conditioning and 5 x 1-minute heavy-bag power intervals to build compact torque on finish strikes.
- Weekly review — Record short clips of drills and sparring; note the frames where openings appeared and adjust next week’s focus.
Keep it safe, deliberate, and curious
Prioritize safety—protective gear, clear stop signals between partners, and phased intensity. Work with a qualified coach who can freeze-frame moments in real time and keep you accountable. If you want to study Rodtang’s patterns further, start from primary sources like his official fight pages—for example, Rodtang’s ONE Championship profile—and build your analysis from complete fights rather than highlight reels.
Finishers are less about magic and more about repetition under realistic constraints. Stay patient, log your progress, and let small, consistent improvements compound into the instinct to finish when the moment arrives.
Recommended Posts