
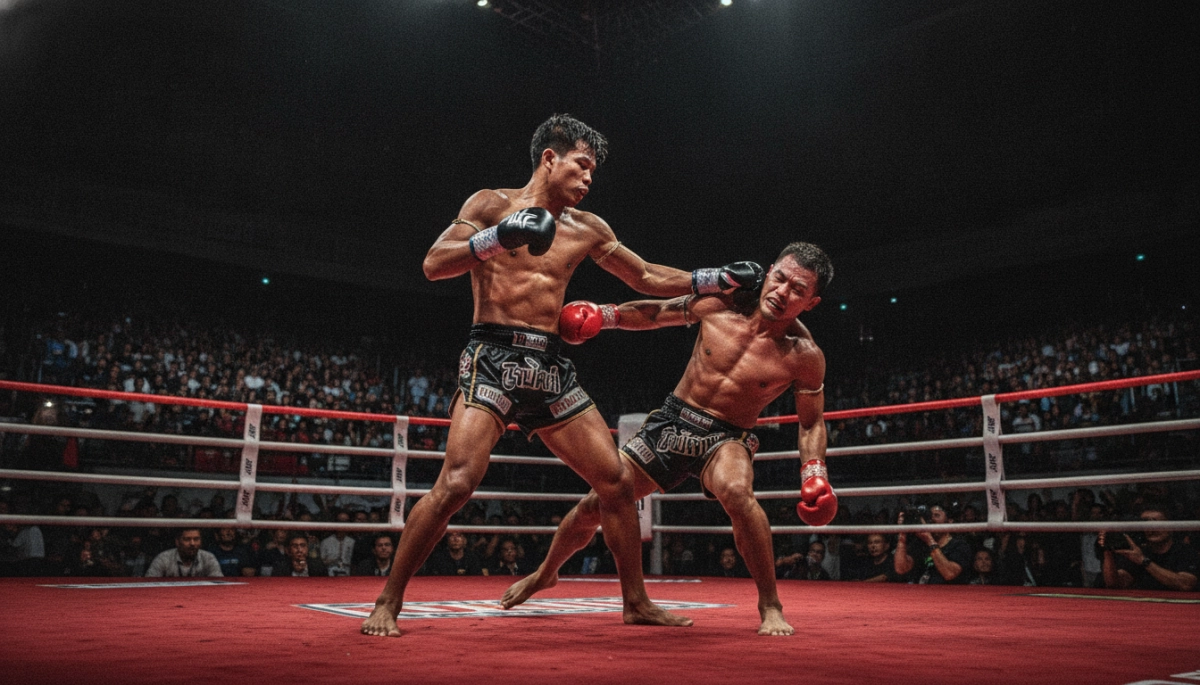
Why Rodtang’s Knockouts Stand Out and What You Should Notice
You may have seen highlight reels of Rodtang delivering explosive finishes, but understanding why those moments land with such force requires a closer look. Rodtang’s knockouts are not only about single strikes; they are the result of timing, pressure, and a refined ability to convert momentum into power. As you watch, focus on patterns rather than isolated punches — how he sets up angles, how he manipulates distance, and how he exploits an opponent’s reactions.
In educational terms, Rodtang’s KOs offer lessons in high-level ringcraft: maintaining forward aggression without losing defense, using feints to provoke predictable replies, and chaining combinations to create openings. You will also notice that many of his finishes come after sustained accumulative damage rather than one-lucky shot. That cumulative strategy is central to analyzing his most memorable knockout moments.
Key Elements You Can Identify in Rodtang’s KO Sequences
- Pressure and Pace: You should pay attention to how Rodtang controls the pace, often forcing opponents to fight on his terms until they make mistakes.
- Combination Crafting: Watch how strikes are linked—body shots that lower hands, then high shots that capitalize on those openings.
- Footwork and Angling: Note small pivots and steps that convert straight pressure into lethal angles for finishing strikes.
- Counter Timing: Many KOs happen when he catches a forward-moving opponent, converting their momentum into more damaging counters.
Early Career Knockouts That Shaped His Approach
When you examine Rodtang’s early career, several knockout moments reveal the foundational traits he later amplified on the bigger stages. In smaller venues and regional cards, you can trace how he learned to close distance quickly and maintain a high-output assault without gasping for breath — a crucial skill that underpins his later finishes. Those early KOs taught him critical lessons about energy management and the value of relentless, accurate pressure.
For instance, you should observe how early finishes often began with probing body work to lower an opponent’s guard, followed by a rapid transition to head strikes once defenses collapsed. You can also see simple yet effective setups: a low kick to immobilize the lead leg, an immediate step in to throw a decisive uppercut or hook. These micro-strategies are replicable concepts you can study to improve your own fight IQ, especially if you train or coach others.
Understanding these building blocks helps you appreciate the sophistication behind highlight-reel KOs — they rarely occur in isolation. As you prepare to examine specific fights and the actual knockout clips, you’ll be better equipped to dissect the sequence of events and the technical details that made each finish possible.
Next, you’ll look at several of Rodtang’s most iconic knockout moments in detail, breaking down the setup, strike selection, and timing that produced each finish.
Clinic in Pressure: The Mid-Range Left Hook Finish
One recurring type of knockout in Rodtang’s reels is the mid-range left hook finish, and breaking it down reveals a repeatable pattern. Typically, the sequence begins with controlled, heavy pressure—Rodtang walks his opponent back with short, chopping kicks and straight punches that test the guard and posture. These early strikes do two things: they sap the opponent’s willingness to keep their chin tucked and they expose the temple line through tiny, repeated reactions.
The decisive moment usually arrives when Rodtang shortens the distance with a compact lateral step, creating a half-angle that nullifies a square-on guard. From that position a left hook (sometimes coming off a quick right jab or low kick) lands flush as the opponent is either retreating or re-centering. What makes these hooks lethal is not raw torque alone but the setup—visual conditioning of the target area, followed by rhythm disruption (a feint or sudden tempo change) and the conversion of body weight into rotational force. Study these clips for his head placement during the step-in and how his shoulder rotates to protect the chin as his hip drives through the punch.
For coaches and fighters, the lesson is clear: mid-range power requires traffic control more than bravado. Rodtang’s hooks are most effective when his opponent is overcommitted to movement—be it a forward lurch or a backpedal—and he times the strike to meet that motion, not just to create it.
Counter-Strike Precision: Catching Aggression and Converting Momentum
Another hallmark of Rodtang’s highlight KOs is his ability to invite aggression and convert it. In these sequences he plays the bait—feinting vulnerability, lowering a hand, or dropping his weight to suggest an opening. Opponents who respond with linear attacks often walk into a timed counter: a looping elbow, a rear uppercut, or a perfectly timed check hook.
What stands out is Rodtang’s economy of motion. He rarely overcommits on the counter; instead, he clips the advancing opponent at the precise moment their kinetic chain is committed forward. This does two things mechanically: it amplifies the force of the returning strike by combining both fighters’ momentum, and it disrupts the attacker’s balance so recovery is slow or impossible. Pay attention to how Rodtang’s eyes read the opponent’s shoulder and chest movement—this visual cue is what allows him to trigger the defensive bait into a finishing strike.
Translate this into training by practicing timing drills where you intentionally absorb movement cues and respond with compact counters. Emphasize balance retention and the ability to absorb a non-damaging hit while delivering a match-ending reply.
Accumulation to Single-Strike Transition: From Body Work to Head Finish
Finally, many of Rodtang’s most memorable knockouts are the product of cumulative damage that suddenly becomes a single-strike finish. These sequences start amid methodical body attacks—low kicks, liver shots, and midline punches—designed to lower the guard and sap mobility. As the opponent’s posture deteriorates, Rodtang accelerates the combination lengths and introduces higher targets.
The transition moment is often subtle: a change in cadence, an added step off the line, or a brief pivot that re-weights his body toward the opponent’s exposed side. Once the head becomes the obvious target, a compact strike—often a hook or overhand—lands with amplified effect because the opponent’s breath, balance, and visual focus have all been compromised by the earlier body work. These finishes are textbook examples of strategic patience converting into sudden violence; they show why front-foot dominance paired with smart targeting is so dangerous.
Finishing Thoughts on Rodtang’s Finishing Art
Rodtang’s knockout highlights are as much a study in intention as they are moments of sudden violence — they reward viewers who watch closely and repeatedly. Beyond the spectacle, these finishes reveal patterns of decision-making, timing and risk management that are applicable to anyone studying high-level striking, whether as a fan, coach, or athlete.
If you want to explore official fights and highlight compilations for further study, check his profile and sanctioned footage here: Rodtang’s ONE Championship profile. Use those clips to practice focused observation: identify the trigger moments, note foot placement and visual cues, and then test those concepts in controlled drills with attention to safety.
Ultimately, appreciating these knockout moments comes down to respecting the craft behind them — the preparation, the patience, and the split-second choices that turn sustained work into a single defining strike. Keep studying, stay curious, and let the highlights sharpen both your eye and your approach to training.
Recommended Posts
