Learning from famous Muay Thai fighters: culture, basics, and applied technique
Why studying fighters combines culture with practical technique
Beginners learn fastest when technique is tied to context: who used it, why it worked, and how it fits Muay Thai’s traditions. Muay Thai — the “art of eight limbs” (punches, elbows, knees, shins, and clinch) — balances striking and clinch work, and famous Muay Thai fighters demonstrate tactical solutions that trainers adapt for students of every level.
This guide respects ritual and technique alike. It briefly explains wai kru and ram muay — the pre-fight respects and ritual dance performed before a fight — to show how culture, discipline, and rhythm feed into timing and footwork used in training and competition.
Saenchai: nimble creativity and the practical teep
Saenchai Sor Kingstar (commonly called Saenchai) is known for exceptional balance, unorthodox movement, and fight IQ. Coming from the traditional stadium circuit, his style blends classical wai kru respect for craft with unpredictable angles and distance control.
Signature technique — the teep (push kick): purpose and execution
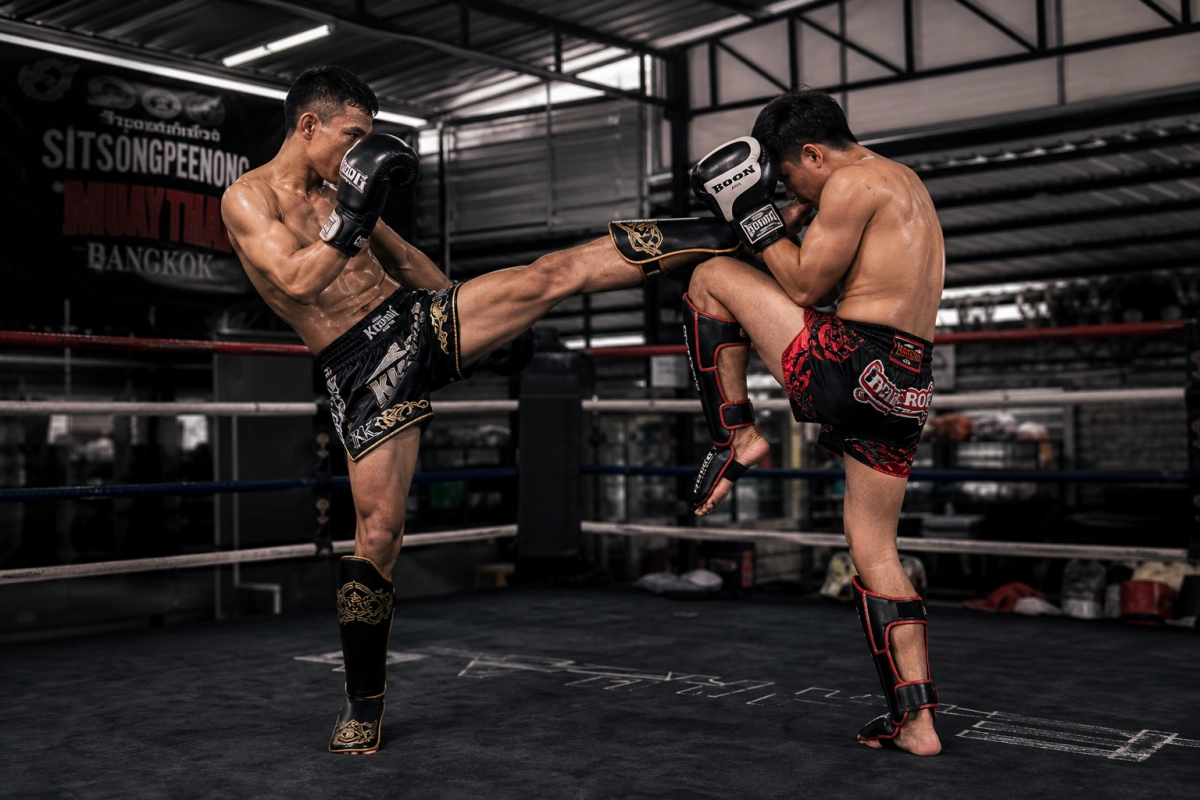
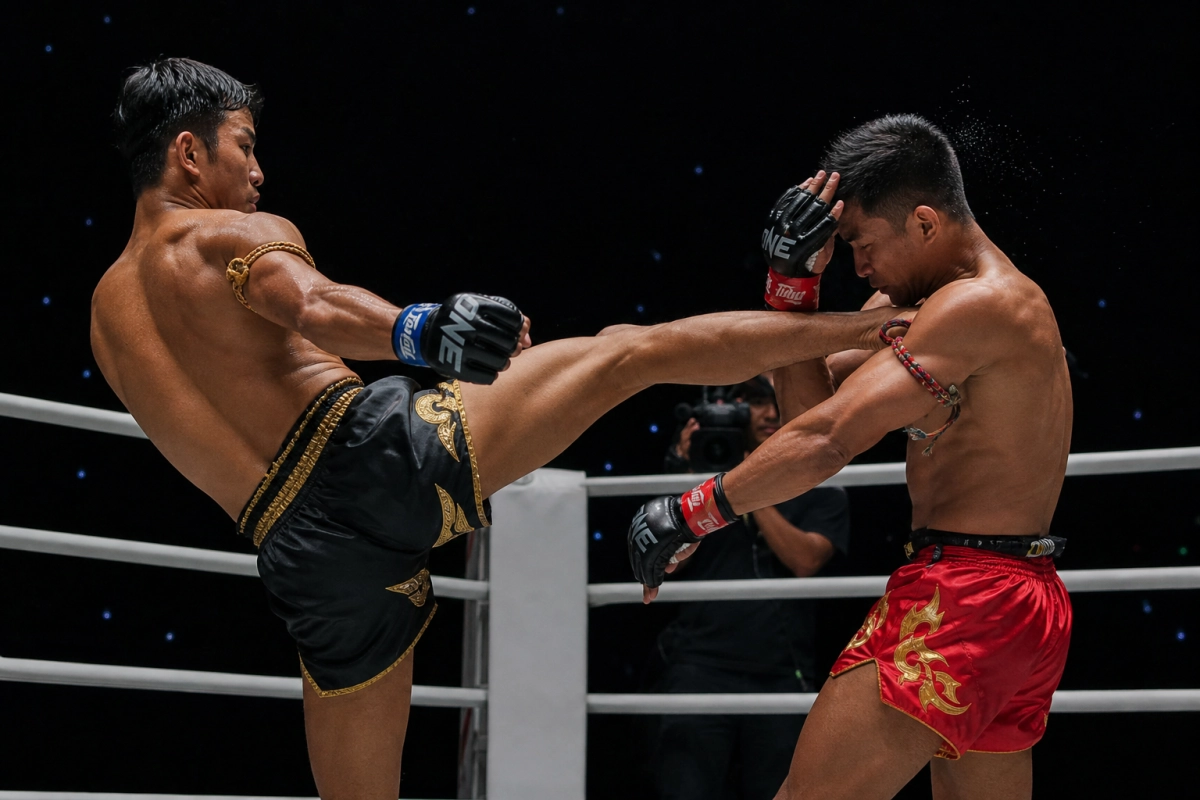
The teep, or push kick, is a primary distance-management tool. For beginners the teep teaches balance, timing, and how to disrupt an opponent’s forward rhythm without committing to a heavy strike.
Correct stance and body position:
- Start in a balanced Muay Thai stance: weight slightly on rear leg, hands up at cheekbone level, chin tucked.
- Rear foot ready to push off; hips square enough to extend but not over-rotate.
Step-by-step execution:
- Push off the rear foot and lift the lead knee toward the chest.
- Extend the lead leg straight toward the opponent’s midsection, pointing toes upward and striking with the ball of the foot.
- Keep hands up and use the rear hand to counterbalance; retract the leg quickly to regain stance.
Common beginner mistakes
- Leaning back too far or dropping hands, which compromises balance and leaves the head open.
- Over-extending and holding the kick, making recovery slow.
Defensive considerations
- Opponents may step in for a clinch — be ready to use the teep as a barrier, or pivot and circle away.
- Watch for catches; if a teep is grabbed, tuck the kicking leg and prepare to clear or circle.
Two safe drills for beginners
- Pad progression: light teep to Thai pads (pad holder absorbs contact) for sets of 10 per leg, focusing on quick retraction.
- Shadow-teep: slow, controlled repetitions without contact to build balance and hip mechanics.
Buakaw Banchamek: committed power and the classic roundhouse
Buakaw made Muay Thai widely visible through international competition and explosive kicking technique. His style emphasizes heavy, well-timed roundhouse kicks and conditioning through disciplined pad work.
Signature technique — the roundhouse kick: mechanics and safe practice
The roundhouse kick delivers power with hip rotation and shin contact; beginners should treat it as a technical movement before adding force. Correct stance places weight roughly 60/40 on the rear leg with the guard high.
Step-by-step execution:
- Chamber by lifting the knee of the striking leg toward the target.
- Rotate the hips and pivot the supporting foot to allow hip drive.
- Strike with the lower shin (not the instep), then immediately return to guard and stance.
Common mistakes, defenses, and two drills follow in the next section.
In the next part the guide continues with more fighter profiles, breaking down technique details, common errors, defensive notes, and beginner-friendly drills for each athlete.
Samart Payakaroon: elegant timing and the counter boxing blend
Samart Payakaroon is often called the most technically gifted Muay Thai fighter of his era — a Lumpinee champion who later won a WBC world boxing title. His style marries classic Muay Thai base with crisp Western boxing: light on his feet, economical with energy, and devastating when he timed counters. Studying Samart teaches beginners how small adjustments in rhythm and guard produce outsized opportunities.
Signature technique — the counter hook (lead or rear) after a slip or parry
This counter emphasizes head movement, weight transfer, and compact hip rotation rather than brute power.
Step-by-step execution:
- Start in a relaxed Muay Thai stance with hands at cheekbone level; eyes on your opponent’s chest/shoulders.
- Read the incoming punch and slip or parry slightly off the centerline — slip inside for a hook to the body/head, or parry outward to create an opening.
- Immediately rotate the hips and pivot the supporting foot, whipping the elbow horizontally while keeping the fist tight — aim the hook to the head or liver depending on distance.
- Retract the hand, reset guard, and use a small reset step to avoid a counter-counter strike.
Common beginner mistakes
- Telegraphing the hook with a big wind-up — keep the motion compact.
- Slipping the wrong direction (into the punch) or failing to move the feet, which compromises balance.
- Over-rotating the torso and exposing the chin.
Defensive considerations
- Maintain a high guard during the slip-to-hook sequence; a tight chin and shoulder roll protect against follow-ups.
- If the opponent anticipates the hook, be ready to feint or immediately clinch to neutralize counters.
Two safe drills for beginners
- Slip-and-counter pad drill: partner throws slow, controlled jabs; you practice a small slip then one compact hook to the pad, 3–5 reps each side.
- Shadow-boxing rhythm work: integrate slips and immediate hooks while keeping feet active — slow repetitions focused on head movement, hip snap, and quick guard return.
Dieselnoi Chor Thanasukarn: towering clinch and relentless knees
Dieselnoi dominated Thai stadiums in the early 1980s with long reach and ferocious knees. Known for his upright clinch and ability to batter opponents with continuous knees, his approach highlights control, posture, and hip-driven power rather than sheer upper-body strength. For beginners, Dieselnoi’s game teaches how to use leverage and timing in the clinch safely.
Signature technique — the vertical clinch knee (long knee drive)
The long knee relies on a secure collar tie, upright posture, and driving the hips upward into the knee.
Step-by-step execution:
- Pummel to secure inside control and establish a collar tie (one hand behind the head, the other controlling the elbow or shoulder).
- Keep chest tall and hips close; pull the opponent slightly down with the collar tie to create space for the knee.
- Lift the knee straight (not looping) and drive the hips upward into the target (solar plexus, ribs, or thigh), landing with the kneecap or lower thigh.
- Maintain grip and posture between knees; use the non-kneeing leg to step and regain angle as needed.
Common beginner mistakes
- Collapsing forward (losing posture) which reduces power and opens you to counters.
- Looping the knee wide — makes it easy to catch or evade.
- Relying solely on arm strength; knees come from hip thrust, not pulling with the arms.
Defensive considerations
- Opponents will try to break the clinch, tie up hands, or circle; keep active pummeling and re-establish ties quickly.
- Watch for elbows when you close distance — keep the chin tucked and forearms engaged.
Two safe drills for beginners
- Pummel-to-knee progression: light partner pummeling for 30–60 seconds, pause, then one collar-tie entry and two controlled knees — focus on posture and hip drive.
- Heavy-bag clinch repetitions: secure a collar tie on the bag and perform sets of slow, controlled vertical knees (5–8 per side), emphasizing hip movement and steady breathing.
Recommended Posts